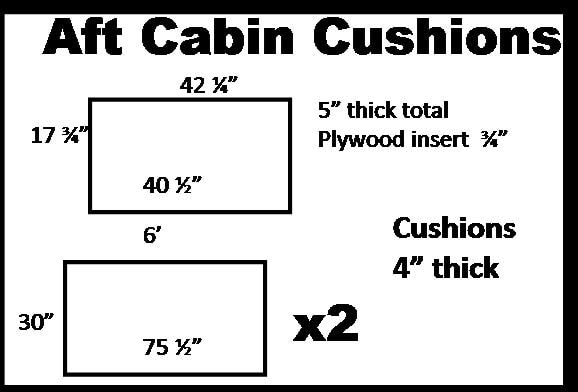
A27 Aft Cabin Remodel

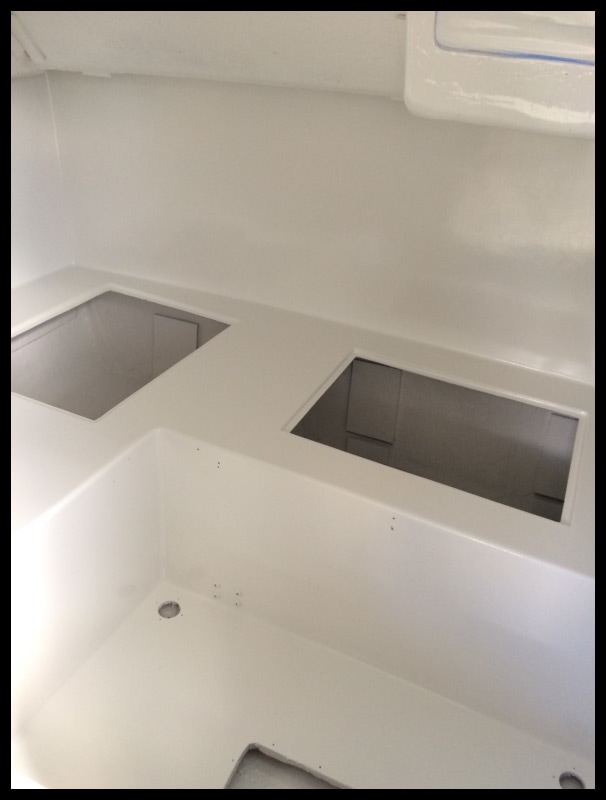
I want to enclose the cabin from the lazaretts and fuel tank. The newest A27s have enclosed cabins, but my Albin 27 has open spaces that extend under the cockpit sole and on each lazarett to the cockpit lockers. Looks like the bulkhead with the drawers under the hatchway comes to the same height as the bunk and is finished as a flush counter. The sides of that countertop rise verticle to meet the cockpit floor and the fwd hatch bulkhead (upper). I've crafted a bulkhead that separates the lockers from each bunk. Now want to tie that in with sides. Looks like the way to do that is to do something like your countertop bulkhead which also adds drawers.
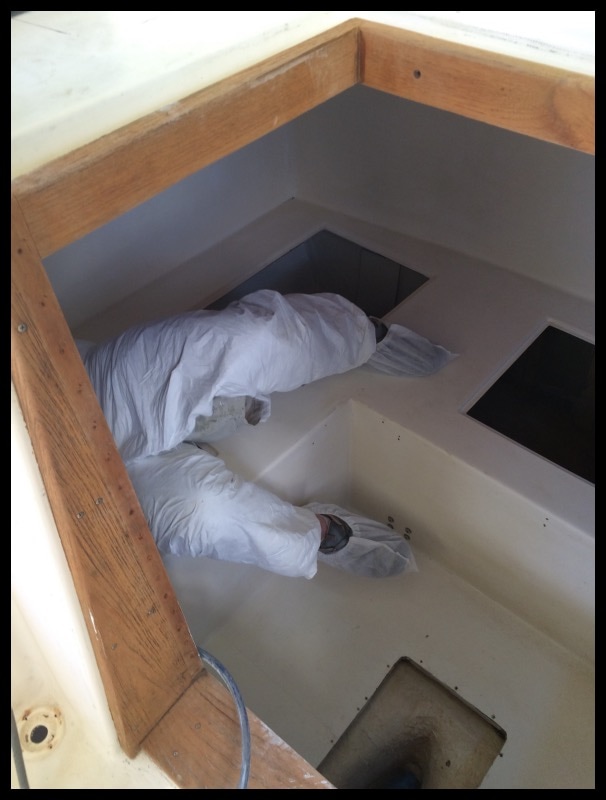
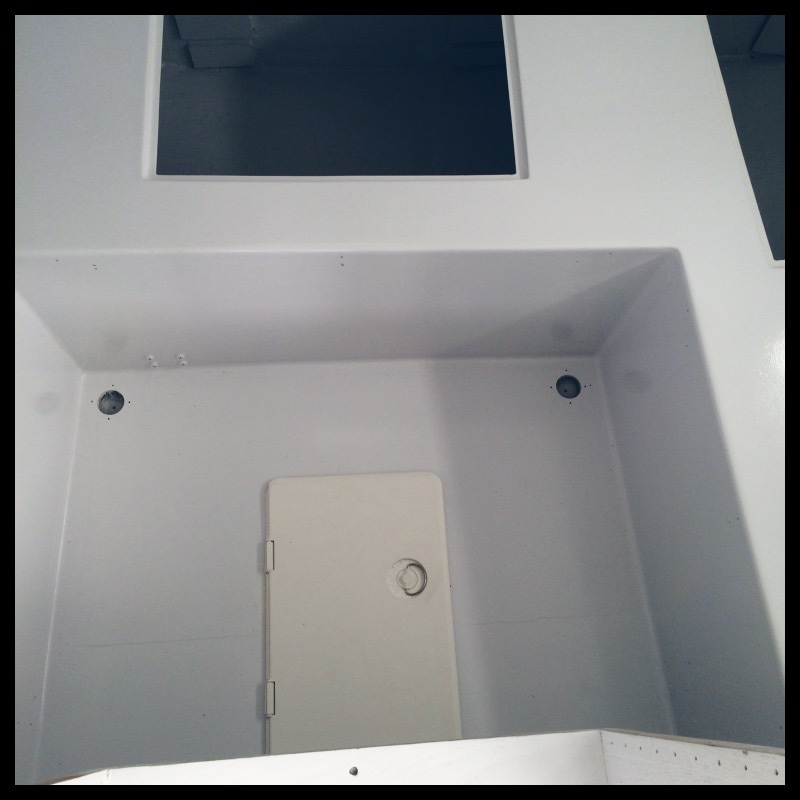
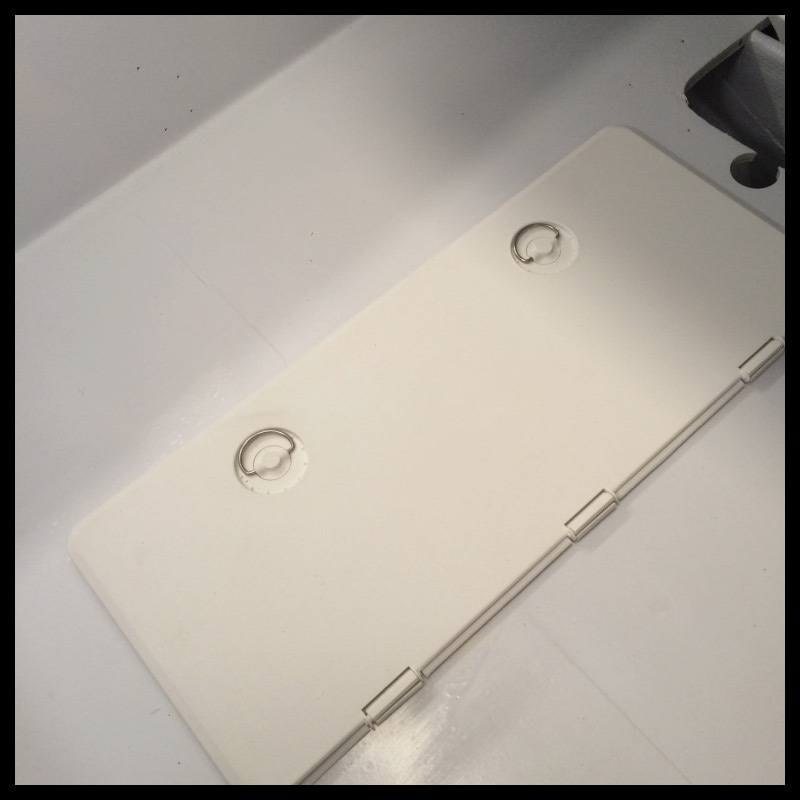
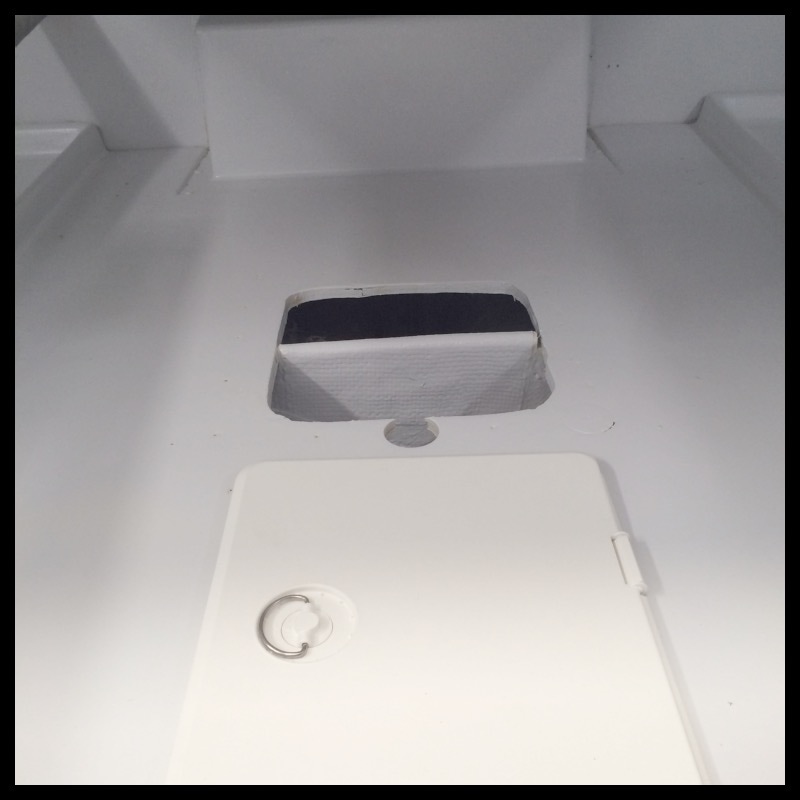
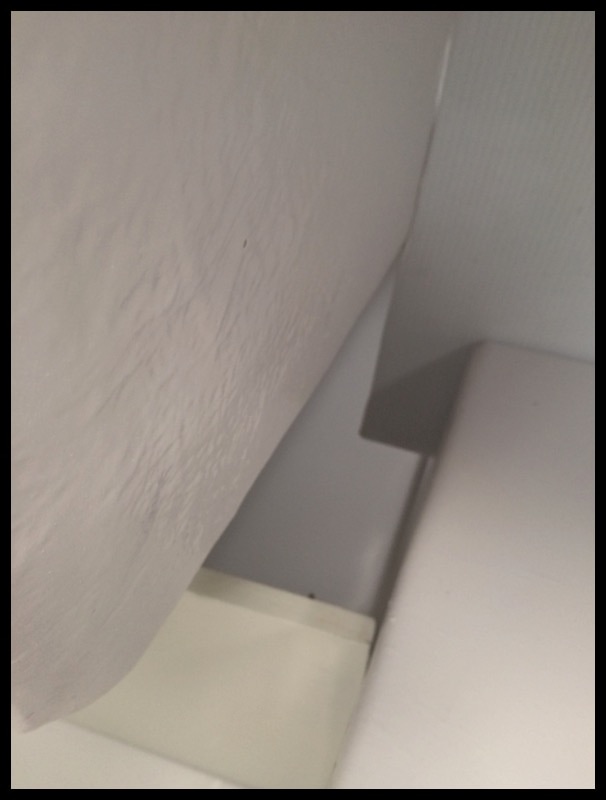
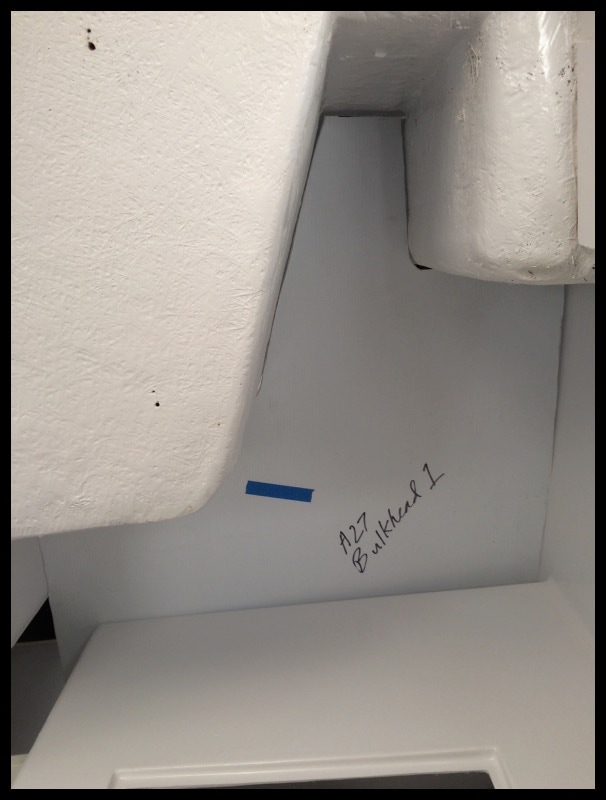
Photos under cockpit showing access hole to the bilge and shaft flange. I plan to put a piece of 3/8" hdpe or PVC foam board over the wacky hole as a semi-permanent hatch. The fuel tank rests in that space. The new floor hatch for stuffing box/bilge access is a hatch from TH Marine SureSeal 30"x13".
Refinishing the Interior & Headliner Material
My original vinyl and foam headliner was completely moldy, stretched, torn, and unserviceable. I threw it away and am starting from scratch with paper/cardboard patterns if need be. Regarding the hdpe trim: I was thinking of an inner "spacer" or trim ring to prevent the port from crushing the headliner when installed and tightened. But its not necessarily now. I mistakenly thought the pvc I was going to use was corregated or soft foam. I re-read your post. So you plan to use a home made hdpe trim ring as the exterior trim ring, which you will thrubolt through. I like that idea. I would be interested to hear how you finished out the trim piece. What size thickness board? Did you use a router bit to turn down the edges? And you are positive about butyl tape? I'm not really familiar with it. Where do you get it?
Yesterday I picked up some pvc wainscoating from a big box store. I'm a ways off from doing the headliner, but trying to plan everything out--so this was an experiment. They make it in 3' and 8' lengths. Its basically panels, approxitely 6-8" wide. You put the panels together using tongue and groove. This makes assembly & fitting very easy. Instead of a giant panel cut to size, you have individual planks, cut to size one at at time. Later, when you need to access wiring, etc, you remove only up to the planks you need. The pvc paneling is not corregated or foam constuction, but solid pvc approx 1/4" or less. A photo is attached. It has a wide pattern on one side (4"+) or thin pattern on the other side (1 1/2-2"). Both are very nautical. $21 for a 3ft box, contains 6 planks; $25 for the 8' box also with 3-4 planks. I used a heatgun last night and gently heated a pvc plank, and then bent it around a 90 degree radius widthwise, no issues. You have to make sure the plank is heated and only bend it when its warm. As soon as it cools, if you try and bend it will break.
My plan is to epoxy in some wood strips as anchor points on the bulkhead. This will create space for reflextix & thin eps insulation. On the areas with the windows, I will install the thin pattern pvc planking, starting with the radius of the window area; bend the plank around the curve of the coach house. The lines of the pattern will be horizontal, following the lines of the boat fore and aft. Then put in additional planks, working my way up to the ceiling and under the bulkhead, with cutouts for the ports. On the ceiling I may go from thin pattern to wide, but not sure how this will work. The beadboard lines have to line up & not look to busy. If a pattern on the ceiling is too annoying , then I will put 1/4" thick or less sintrex pvc board on the ceiling in two panels (port and starboard). I will end up with a smooth white finish on the ceiling, and a nice nautical beadboard pattern on the window bulkheads, down and under the bulkhead till it joins with the pan liner. I will use pvc 1/4" molding or whatever to cover the joints, w/ stainless screws to hold it in place.


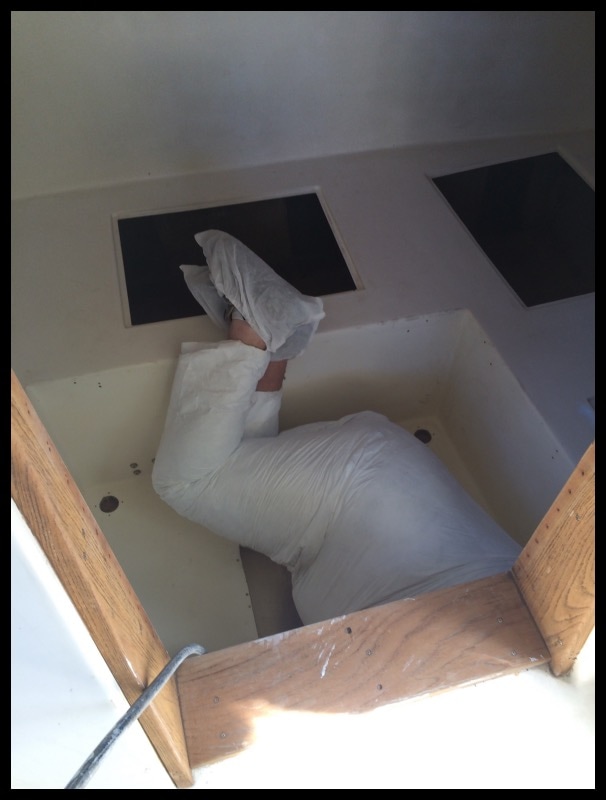
I've been toying with the idea of how to make the aft cabin more hospitable and I came up with the idea of adding his and her hatches to the cabin roof. This adds light and makes it much less claustrophobic. Because I'm building a custom hardtop that will allow the cockpit to entirely closed, there's no worry about leaks. These hatches are the Bowmar's extruded aluminum one so you can even walk on them. The best part, I got the hatches for $60 for the pair with trim rings and screens.